- Open Plant pages (click Plants from the main menu)
-
Filter plant list to only show custom plants
(click the icon in the filters at the top)
- Click the Custom Plant you want to edit.
Create your own Custom Plants
VegPlotter has an advanced feature that lets you create our own Custom Plants with their own Custom Schedules. This guide shows you how
Custom Plants can be created using any other plant (or another custom plant) as a base or template.
Creating a Custom Plant will duplicate the plant chosen as a new Custom Plant. You can then change the name, default spacing, default planting schedules and more!
This allows you to completely tailor VegPlotter's default planting schedules to match the way you like to grow!.
This guide is broken down in to the following sections:
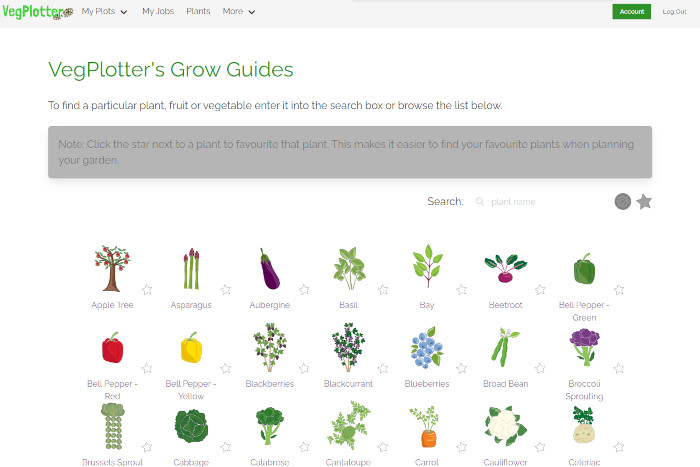
How to create a Custom Plant from the VegPlotter Plant pages
First you need to open the Plants page by clicking on [Plants] in the mainmenu at the Top of VegPlotter.
If on mobile you may need to tap
to open the menu.
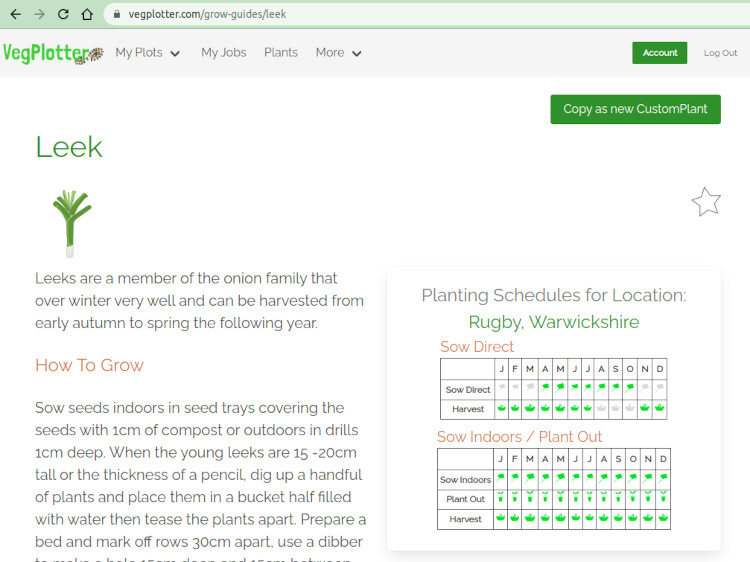
Next: select the plant you'd like to use as the base / template for your Custom Plant.
From the plant grow guide page you can then hit the...
button at the top or bottom right of the page.
You will then be asked to enter a name and optional description for your Custom Plant.
Use a name that will make it easy to identify the Custom Plant in the planting menu. And you can be as Specific as you need.
When done hit the...
button.
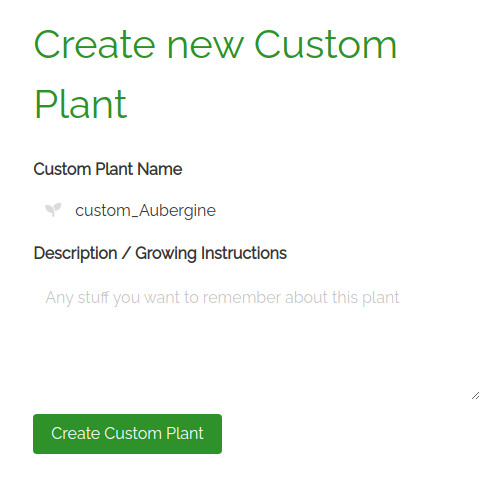
This will copy all of the settings and schedules for the plant in to a new Custom Plant where you can change the plant settings and schedules as you need.
find out more
How to create a Custom Plant from a planting row or block on a plan
One of the best ways to create a Custom plant is from a planting already on your garden plan. Especially, if you have altered the plant spacing or schedule for that plant as it will copy those settings.
To create the Custom Plant. First select the planting row or block on the plan that you what to use as a template.
Then select
[to Custom]
from the Planting Details panel's dropdown menu.
Click the
 icon to open the dropdown shown here:
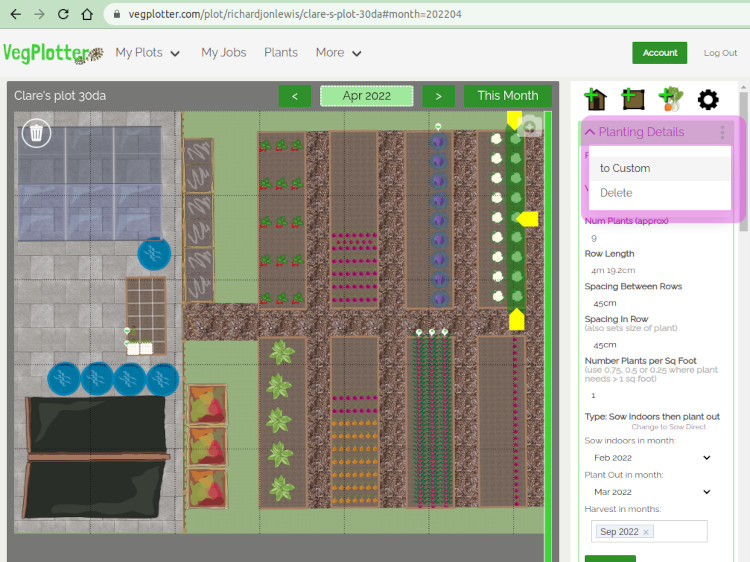
This will copy all of the settings and schedules, for the planting row or block that you used, in to a new Custom Plant. The new custom plant will then appear in your plants list to add to your plans. You can also add or alter the default schedules for that custom plant too as needed...
find out more
How to edit/update a Custom Plant
To Edit a Custom plant you first need to open the Custom Plant page for that plant.
There are two ways to get there:
From the Plant pages
From your garden plan
-
On your Garden Plan open the Add Plants menu (click
 in the right-hand menu)
-
Find your custom plant in the plant list. (You can filter it to show only your custom plants by clicking the
icon in the filters at the top)
-
Tap on the
 icon next to the custom plant to open up the plant page in a new window.
The Custom Plant page
More info on what each bit does below
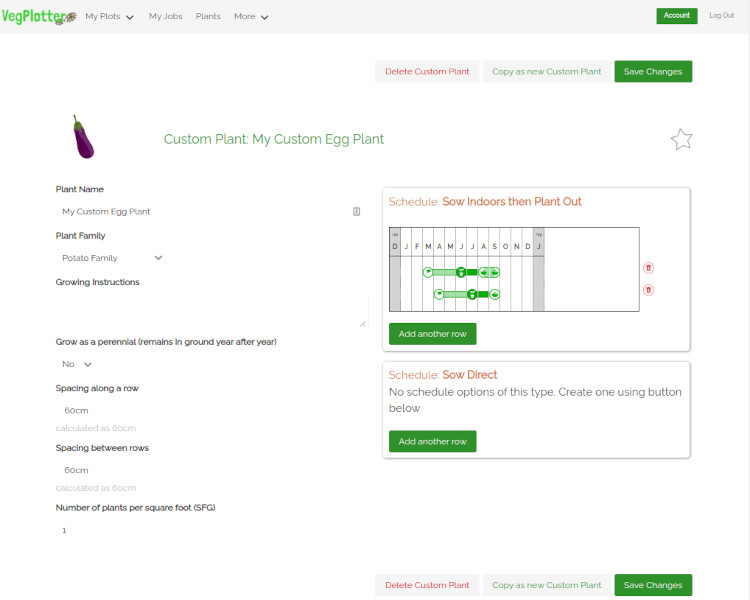
The Custom Plant page allows you to change and edit the following characteristics of your custom plant:
Plant Name:
A good specific plant name is helpful as it will make it much easier to find and identify your custom plant in the plant menus. Especially if you have alot of Custom Plants.

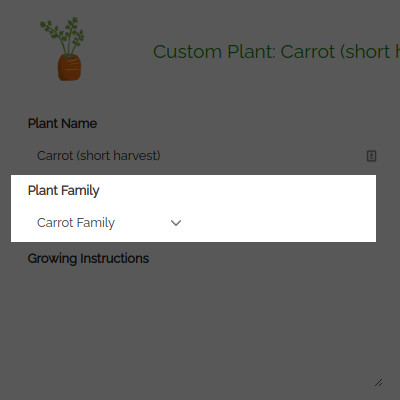
Plant Family:
Select the family of the plant. This is used when warning you of potential Crop Rotation conflicts (where you are at risk of disease or pests by putting same family crops in the same spot year after year)
If unsure you can select Misc as these will not trigger Crop Rotation warnings.
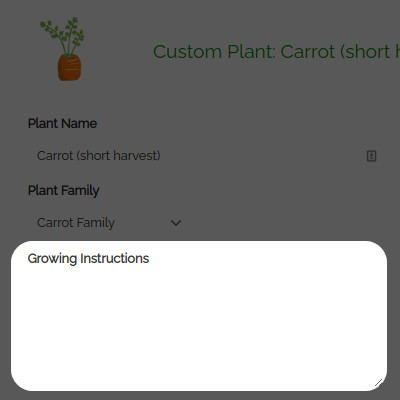
Growing Instructions:
Here you can enter any notes or guides to your future self on how to grow this crop.
This is super useful for remembering improvements or things you've learnt year after year.
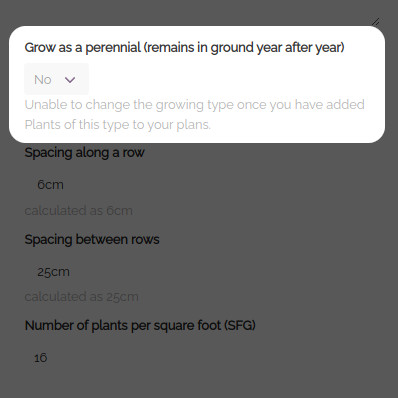
Grow as Perennial:
Perennials are plants that stay in the ground year after year. Many crops are grown as annuals but are actually perennials or biannials. This field lets you decide how to grow a crop.
So set this as Yes if you would like this Custom Plant to behave like a perennial or No if not.
For example, a plant may actually be a perennial but you want to grow it as a biannual in which case set this as No and set your schedule to span two years.
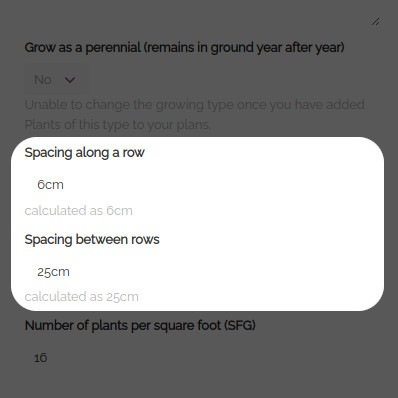
Spacing Along and Between rows:
Here you can set the spacing that you would like to use with the plant.
These measurement fields will use your preferred unit of measure by default. But we suggest that you include the unit to avoid any confustion.
So enter "30cm", "1ft", "3feet", "5inches", or combine them "1ft 2inches" etc. and it will convert it to your preferred unit of measure in the Calculated as ... summary below the field.
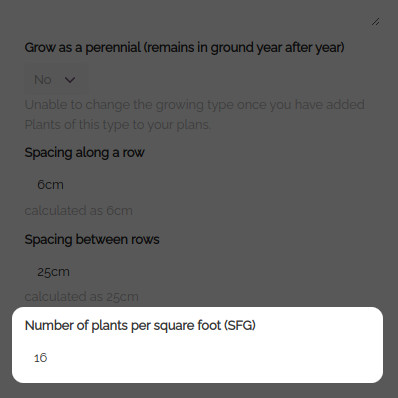
Number of plants per Square foot (SFG)
If you use Mel Bartholomew's Square Foot Gardening technique this will be useful for you. If not you can ignore this field.
This lets you enter the number of plants that you want to grow in a square foot block.
Note: You can also use numbers less than 1 if the plant will take up more than 1 block. (i.e 0.5 will put 2 plants in a 2x2ft block, 0.25 will put 1 plant across a 2x2ft block etc.)
Custom Plant Schedules
Each custom plant will have 2 Schedule Panels available. One for each schedule type; Sow Direct and Sow Indoors and Plant Out.
Each schedule panel lets you add and edit the schedule for each month. With the key month being Plant Out for Sow Indoors and Plant out type, and Sow Direct for that type.
You can drag the Sow, Plant and Harvest Icons into the months you want. If you want to add another row, or if no rows exists in a panel hit...
... and make sure you hit
when done to save your changes
How to delete a Custom Plant
If you no longer need a custom plant, you can delete it so that it doesn't appear in your plant lists.
Just hit...
at top or bottom of the Custom Plant page.

