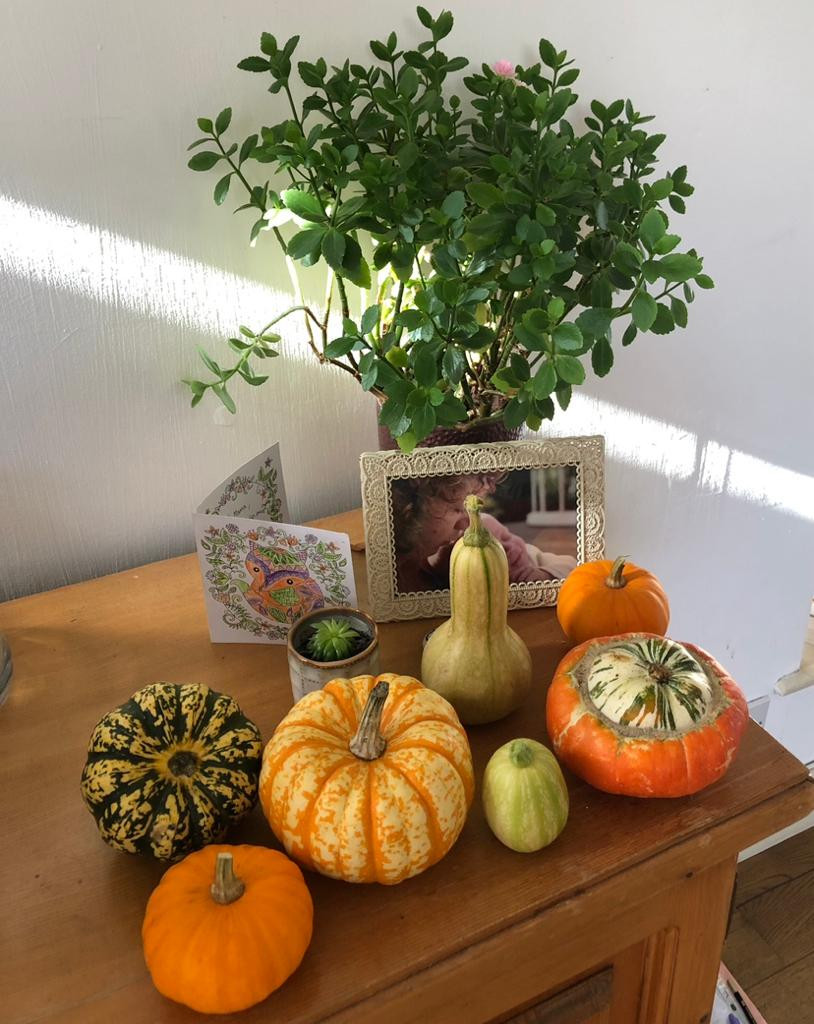
Don't Pick Your Pumpkin Until You Read This

With Halloween approaching, it's time to ensure the pumpkins you've tracked in your VegPlotter plan are ready for harvest. A successful harvest depends on timing, technique, and proper storage. This guide provides a straightforward process to get your pumpkins from the patch to the porch, ensuring they last through the season.
Step 1: Check for Ripeness
Harvesting a pumpkin at the right time is the most critical step. A pumpkin picked too early will be soft and rot quickly, while one left too long can be damaged by frost. Here are four reliable indicators of ripeness.
- Colour: The pumpkin should have a consistent, deep colour. For most carving varieties, this means a solid orange. Green patches indicate it needs more time on the vine.
- Sound: Tap the pumpkin firmly. A ripe one will produce a hollow sound, indicating the flesh is dense and ready. A dull thud means it's not yet mature.
- Rind Hardness: Press your thumbnail against the pumpkin's skin. If it resists being scratched or punctured, the rind is hard enough for harvesting. A soft rind means the pumpkin is still immature.
- The Vine: Look at the small tendril on the vine closest to the pumpkin's stem. When this tendril begins to dry out and wither, the pumpkin is no longer drawing significant nutrients and is close to being fully ripe.
Step 2: Harvest Correctly
Your harvesting technique directly impacts how long the pumpkin will last. Damage to the stem or skin can lead to rapid decay.
- Check the Stem: Before cutting, confirm the stem is hard and dry. A soft stem is a sign of an unripe pumpkin.
- Use Clean Tools: Use a sharp, clean pair of secateurs or loppers to cut the stem from the main vine. Do not pull or twist the pumpkin off, as this can break the stem at the base.
- Leave a Handle: Cut the vine to leave at least 3-4 inches of stem attached to the pumpkin. This "handle" helps to seal the pumpkin and slow down rot. Avoid carrying the pumpkin by its stem, as it can break easily.
- Handle with Care: Move the harvested pumpkins carefully to prevent bruising or cracking the skin. Any damage creates an entry point for bacteria and fungi.
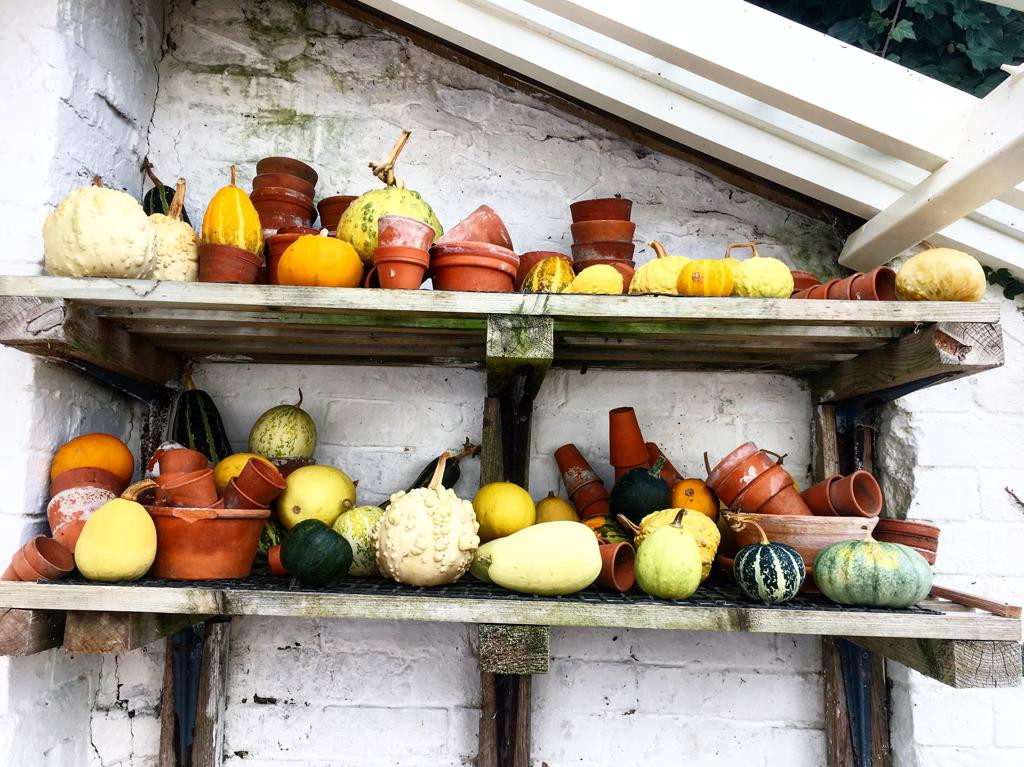
Step 3: Cure for Longevity
Curing is the process of hardening the pumpkin's skin in a controlled environment. This step is essential for extending its storage life.
- Provide Warmth: Place the pumpkins in a warm, sunny location for 7-14 days. An ideal temperature is between 25-30°C (77-86°F). This toughens the skin and heals any small cuts from the harvest.
- Ensure Airflow: Do not crowd the pumpkins. Arrange them so that air can circulate freely around each one. This prevents moisture from collecting and causing mould or rot.
- Protect from Frost: While curing, ensure the pumpkins are protected from night-time frosts. Move them into a greenhouse, shed, or garage if temperatures are expected to drop. Frost damage will cause soft spots and rapid decay.
Following these three practical steps will ensure your pumpkins are properly prepared for carving and display.
Ready to plan next year's crop? Log in to your VegPlotter account to get started.