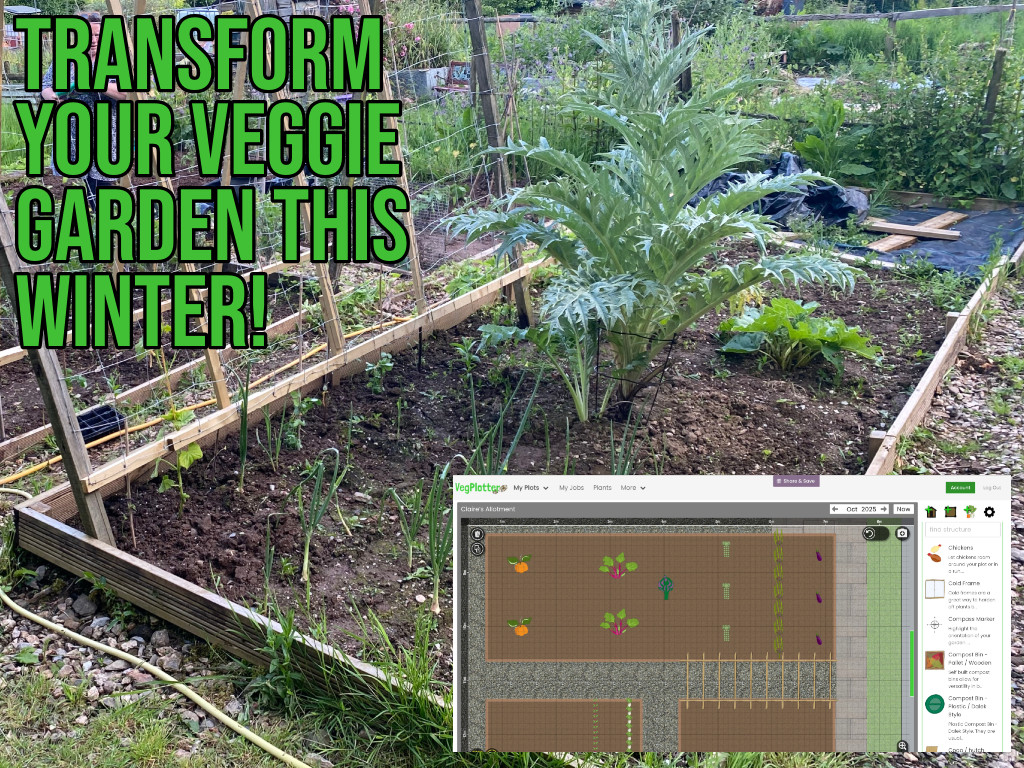
How to use VegPlotter - The Basics
We are working on some howto videos for our Vegetable Garden Planner. In the mean time here are some of the key points to note when planning your Kitchen Garden or Allotment with VegPlotter:
Change the name and size of your plot
Once you've created a new plot. Open the plot settings form by clicking on the cog in the right hand menu. Here you can change the plot name, alter the dimensions and set a location if different to the one you entered at registration.
Layout your beds and structures
 To add and alter the beds and structures on your plot you need to have the respective menus open. So to add or edit structures you'll need to have selected the structures menu (shed icon in the right hand menu - see image) and likewise for beds.
You can alter the size and labels for the beds using the right hand menu when an item is selected, or drag the yellow handles on the selected item.
Note: You can delete points (handles) on irregular shaped beds and structures by double tapping / clicking on the handle to delete.
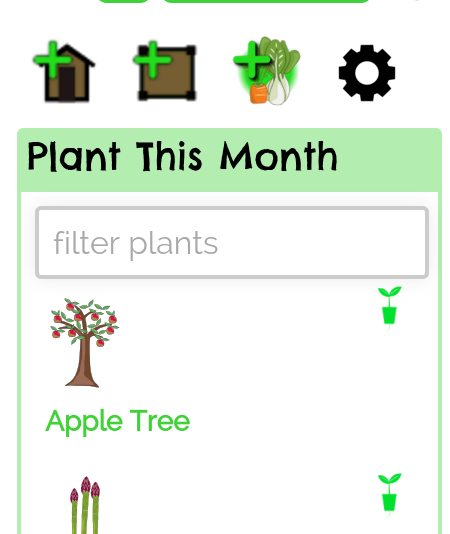
Add plants (plan your planting year and beyond)
VegPlotter is the only garden planning tool not to require you to create a new plan for each year. Our unique month by month planning approach allows you to add plants to your plot in the months that you plan and do so for as far into the future or past as you need.
VegPlotter uses that information to show you only the plants growing on your plot in any particular month.
 You change the active month in VegPlotter using the Current Month Selector (see image) This allows you to move through the monthss and see what is in your plot each month, where you have space and the jobs needed (i.e. sow, plant out, harvest etc).
The active month also affects the plants available for you each month. As you move through the months you'll notice that plants are added or removed from the right hand plant selector based on your local climate.
To add a plant to your plot simply drag the plant from the right hand menu.
Note: You'll need to have some beds on your plot before you can add any plants.
Plants are added in rows. The default direction of a bed's plant rows can be set using the yellow double arrow that is displayed when a bed is selected.
Once added the length and orientation of the row can be altered using the yellow handles when a plant row is selected. The Yellow handle in the middle of the row allows the row to be copied out to create parallel rows of the same plant.
Deleting items
If you've added anything by mistake or want to remove an item simply select it (make sure the appropriate menu is active first) and hit the delete key on your keyboard, or you can tap the compost icon on the item details section of the right hand menu.
Hopefully this is enough to get you started. Video guides to follow. In the mean time if you have any questions feel free to Contact Us.
Happy planning
Richard