How to setup an allotment in the traditional style
The traditional method is by far the most popular style of allotment in the UK. It's simplicity and costs to setup are it's key strengths. In this guide we describe the approach and talk through the steps and options in creating an allotment or vegetable garden in this style.
What is a traditional allotment style
The traditional style of allotment is fruit and vegetables grown in beds dug directly in the ground. The layout of the beds is optional, but true traditionalists would say that allotments of this style should have one large bed the full length of the allotment with a path running along one side. These days people have altered this style slightly to layout their sites with lots of smaller beds separated by narrow paths. This has the added advantage that it provides greater access to weed and hoe without walking over the soil. It also makes the task of digging it over slightly less daunting.
Advantages of the traditional allotment style
| Feature | Traditional | Raised Bed | No-Dig |
|---|---|---|---|
| Effort to setup | High | High | Med |
| Cost to setup | Low | High | Med |
| Effort required annually | High | Low | Med |
| Maintenance cost annually | Low | Low | Med |
| Level of weeding need | High | Low | Low |
| Does it provide any protection against flooding | No | Yes | No |
| Does it give flexibility in planting | Yes | No | Yes |
| Does it require regular edging | Yes | No | No |
How to dig out traditional vegetable beds
The technique here will vary depending on how overgrown the area is, what type of weeds it has, and the type of soil. So skip any of the following steps if they don't apply to your plot.
Step 1: Cut back weeds higher than 1 foot / 30 cms

If the site is completely overgrown and has been for years then you are likely to be faced with a mass of chest height weeds such brambles and bushes. If this is the case you'll need to clear back to ground level (or just above).
The ideal tool for this is a brush cutter. This is essentially a strimmer (whipper snipper / weed whacker) with a metal cutting disc instead of cutting cord. You can hire or borrow these (ask your new plot neighbours. You'll usually find one). Or you can hire them; Google "local tool hire" to find your nearest.
Once cut back, drag / carry the weeds into a pile (use gloves if brambles or stinging nettles are amongst them). If the site allows, and it's a dry day with little or no wind, you should be able to burn what you cut back. If that is not an option pile them up for now and cover them is you can.
Step 2: Dig out the obvious perennial weeds
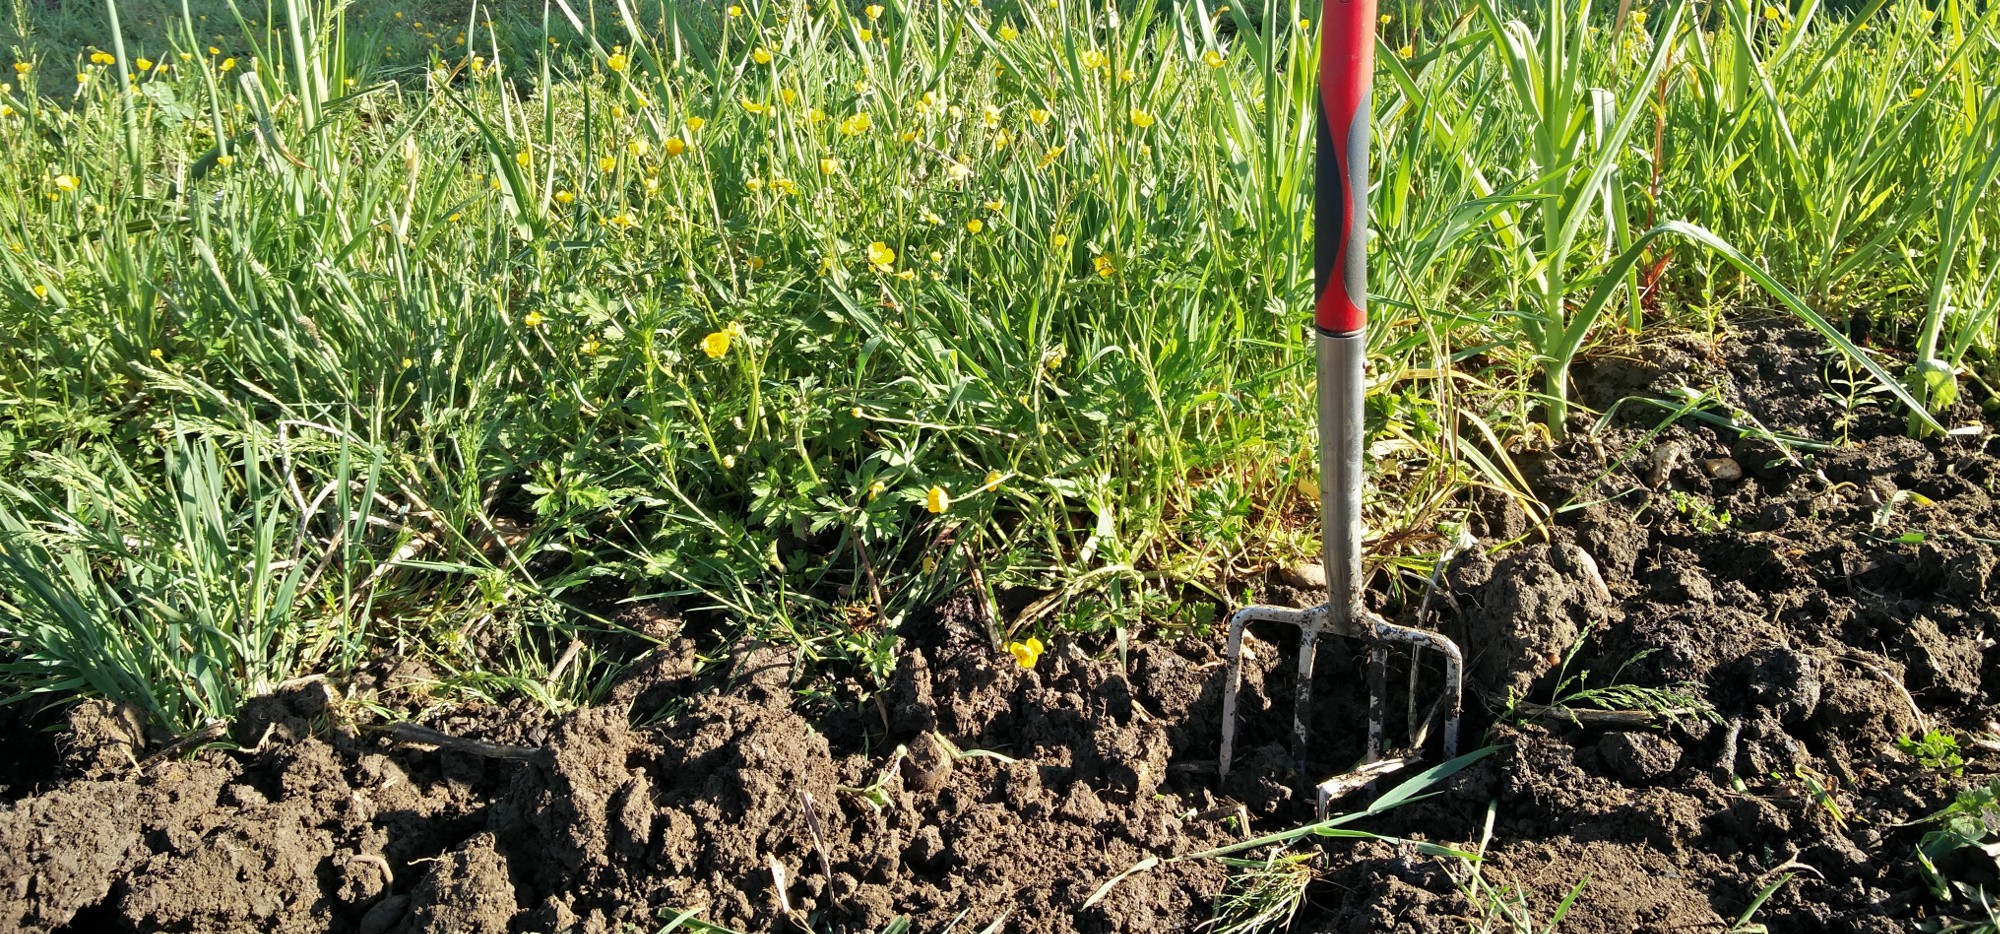
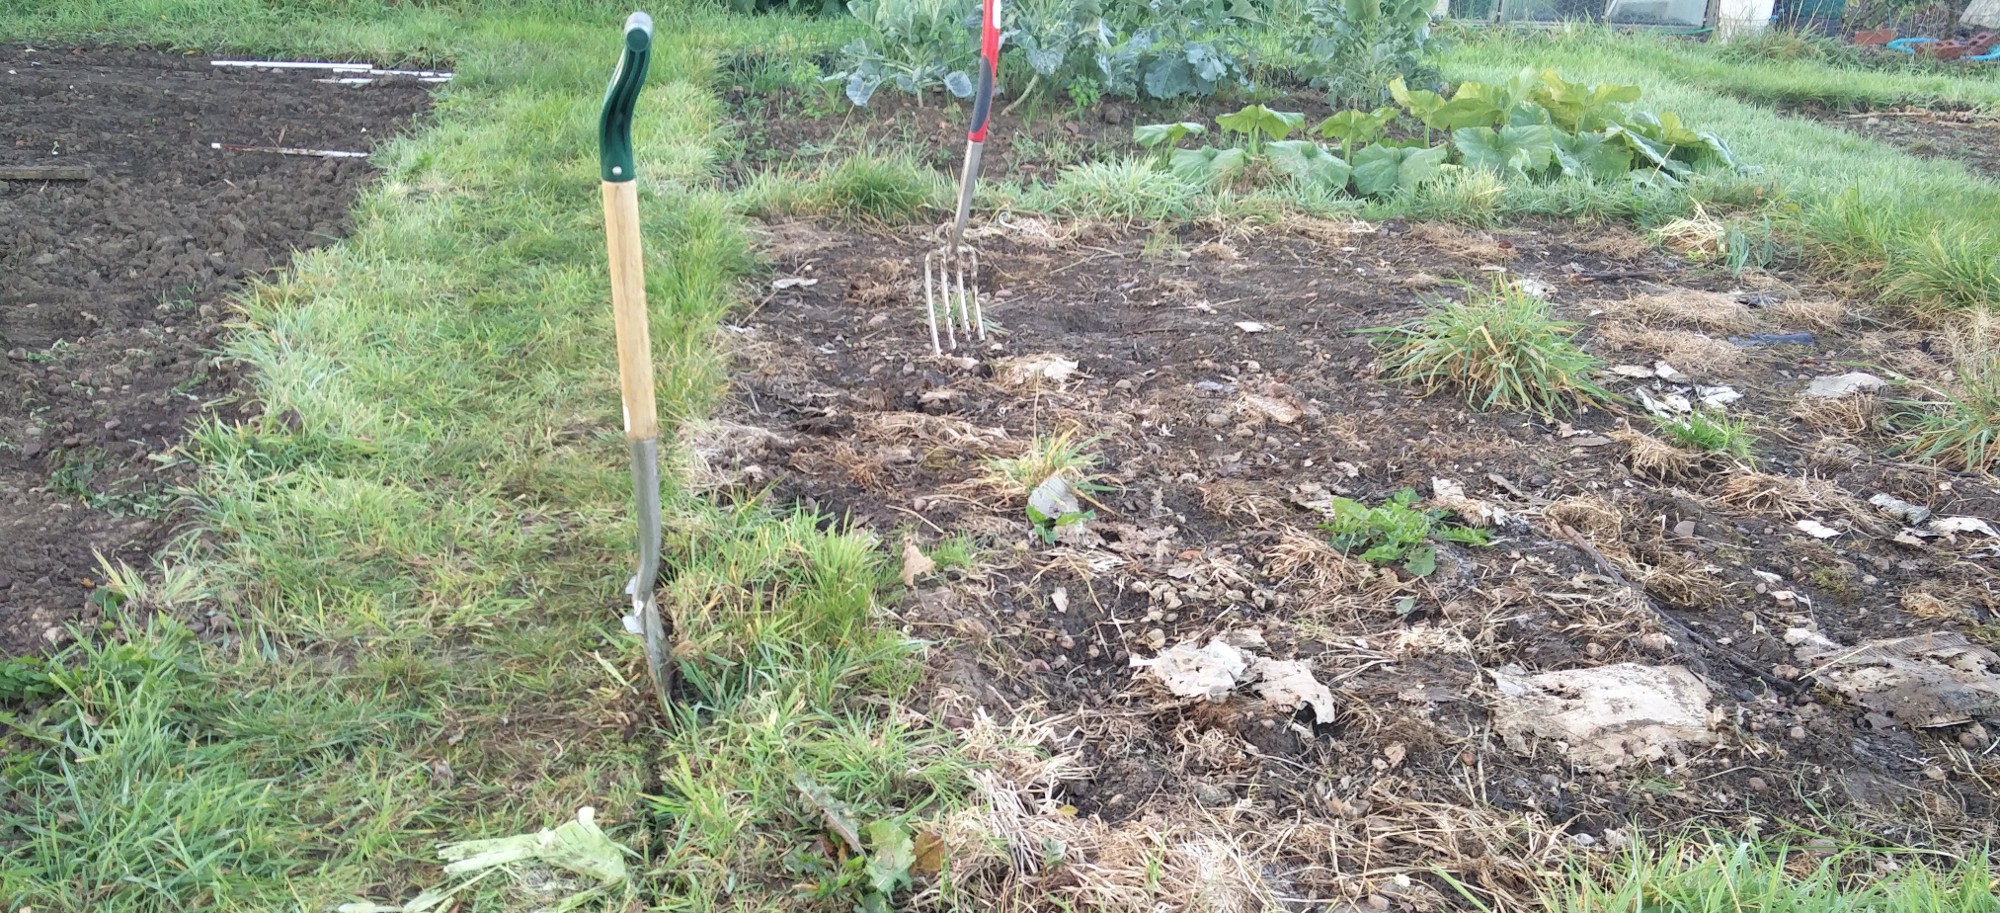
Once you've cut back to only ankle height weeds, go over the beds with a digging fork and prise out any of the obvious perennial weeds and their roots. Examples include dandelions, buttercup, couch grass, thistles, cumfrey etc.
The photo above shows the couch and buttercup. Although this looks like a lot they are usually in fairly large clumps so once you've pulled up a few you'll have cleared a reasonable area.
Step 3: Mark out the edges of your bed
Next grab some string or long lengths of fairly straight wood and mark / measure out the edges of the bed. Then using a spade slice into the soil along the line all the way round the part of the bed you'll be digging over that day. If it's a large bed that will take a few days to dig over there is no point edging all the way round at this point. This is simply to make taking the turf off and digging it over slightly easier and get a neat edge to your bed.
Step 4: slice off the turf
If the area was simply covered with grass you'll need to lift this up or slice it off. The simplest way to do this is using a spade slicing off the top layer of turf. Put the turf slices in a pile near where you plan to put your compost bins (or in the bins if you have them). Some people will suggest that you put the turf in the bottom of the trenches when you come to dig over the beds but I find that only works if you are double digging. At this stage, unless you really want to, I suggest you don't double dig. Leave that to next year when the beds are clear and focus this year on simply clearing the weeds and turning over the top layer of soil.
Step 5: Add layer compost / manure
This step is optional as it can be expensive and dependent upon a good local source. Asking around at your local allotment site, even if your not a plot holder, will usually surface a good source of compost / manure. People are generally happy to help.
Get as much as you can, and can afford. Add as think a layer on to the beds as you are able. Ideally 1 inch or greater. But even a small amount is better than none.
Adding manure or compost to he soil will make a huge difference to the quality of your crops, it'll make digging over the soil and preparing a fine tilth next year a doddle too. The more organic matter you can add the more crumbly and nutritious the soil will be, whether you start with soil that's sandy, clay or somewhere in the between.
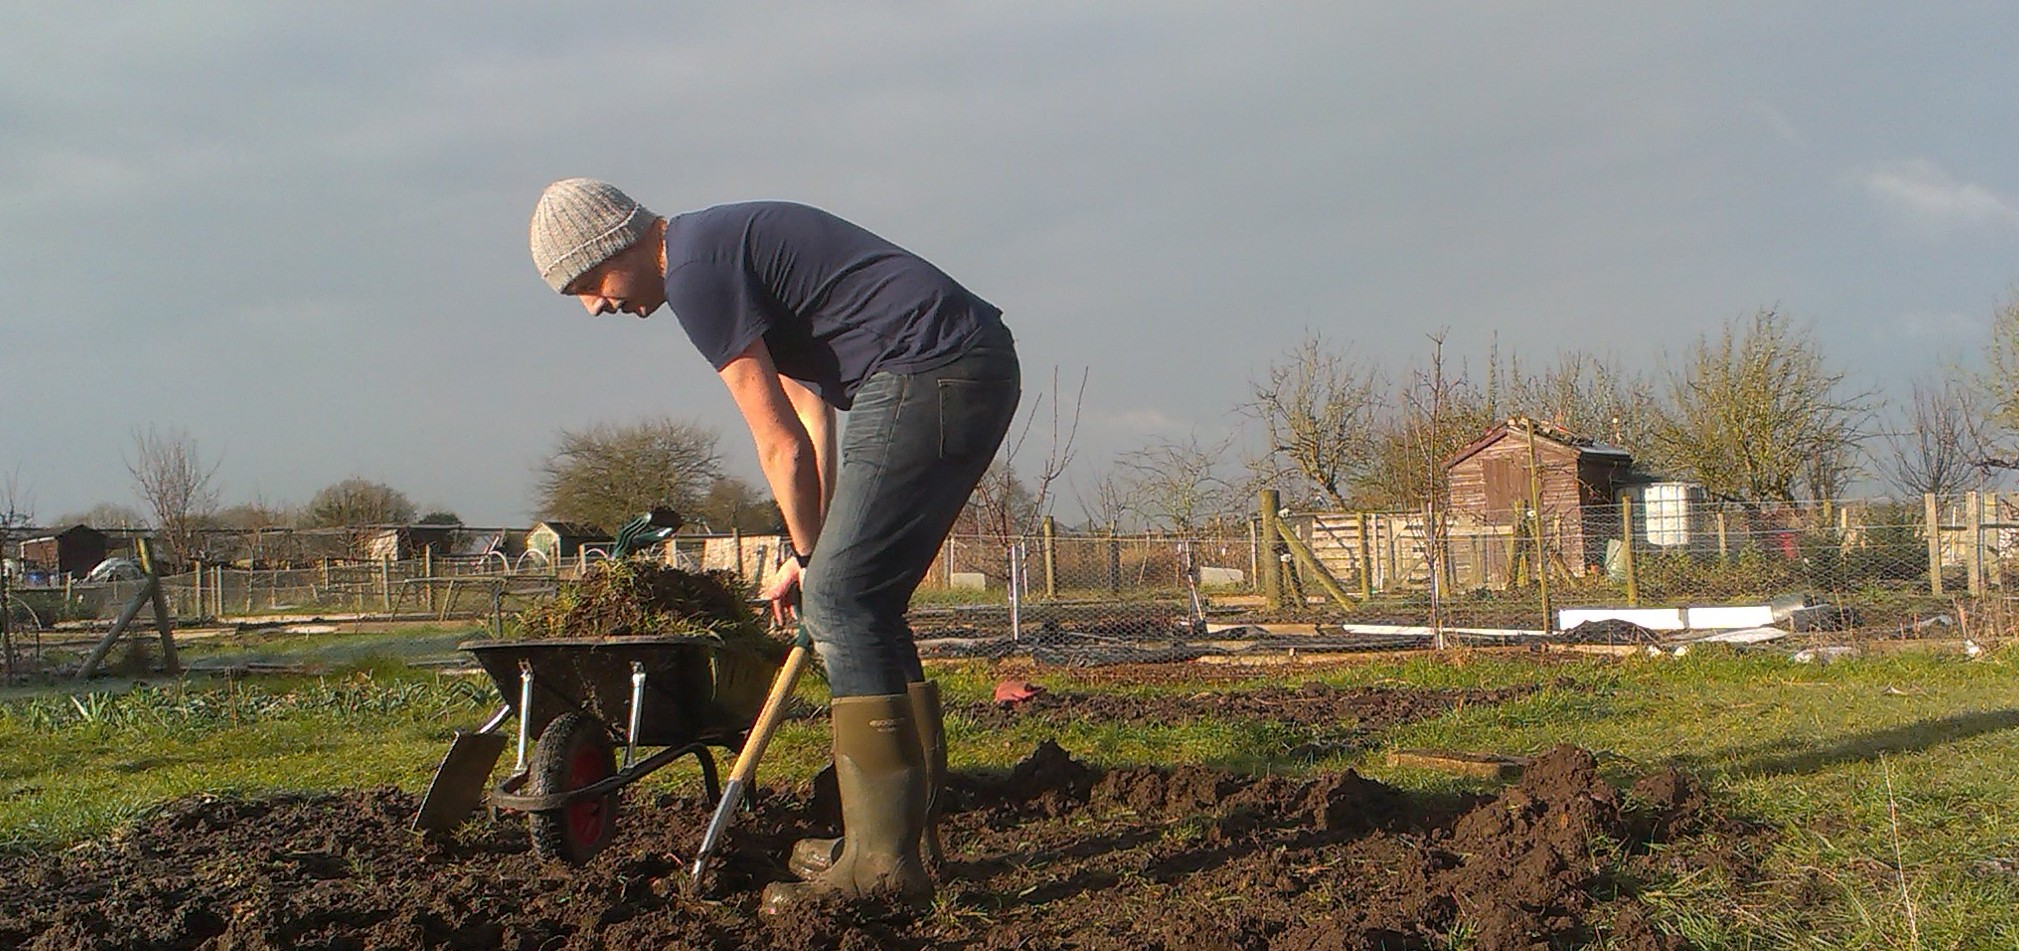
Step 6: Turn over the soil (removing roots as you go)
Now to the main event. This may be easily if you have sandy soil or hard work (clay) either way the technique is the same.
Remember: Look after your back: Don't push your self at this stage. Don't do too much at once. It is far better to take your time. The important thing here is to do some. Don't rush and don't feel like you need to dig over the whole site / bed in one go. Just do a metre each visit or what ever you feel comfortable with. If you do that often It'll eventually all get dug and you'll still have a functioning and pain free back.
Start at one end and work along the bed slicing a clod of earth and turning it over. If the soil / clod doesn't crumble as you do this then break it up by slicing into it with the spade / fork. If it's autumn and likely to be icy over winter you don't have to break them up as much as the repeated freezing and thawing over winter should break it up for you.
Then slowly work your way backwards till the whole bed is turned over. If you notice any obvious weed roots whilst you do this pull them out. It's useful to have a wheel barrow handy to throw them in.
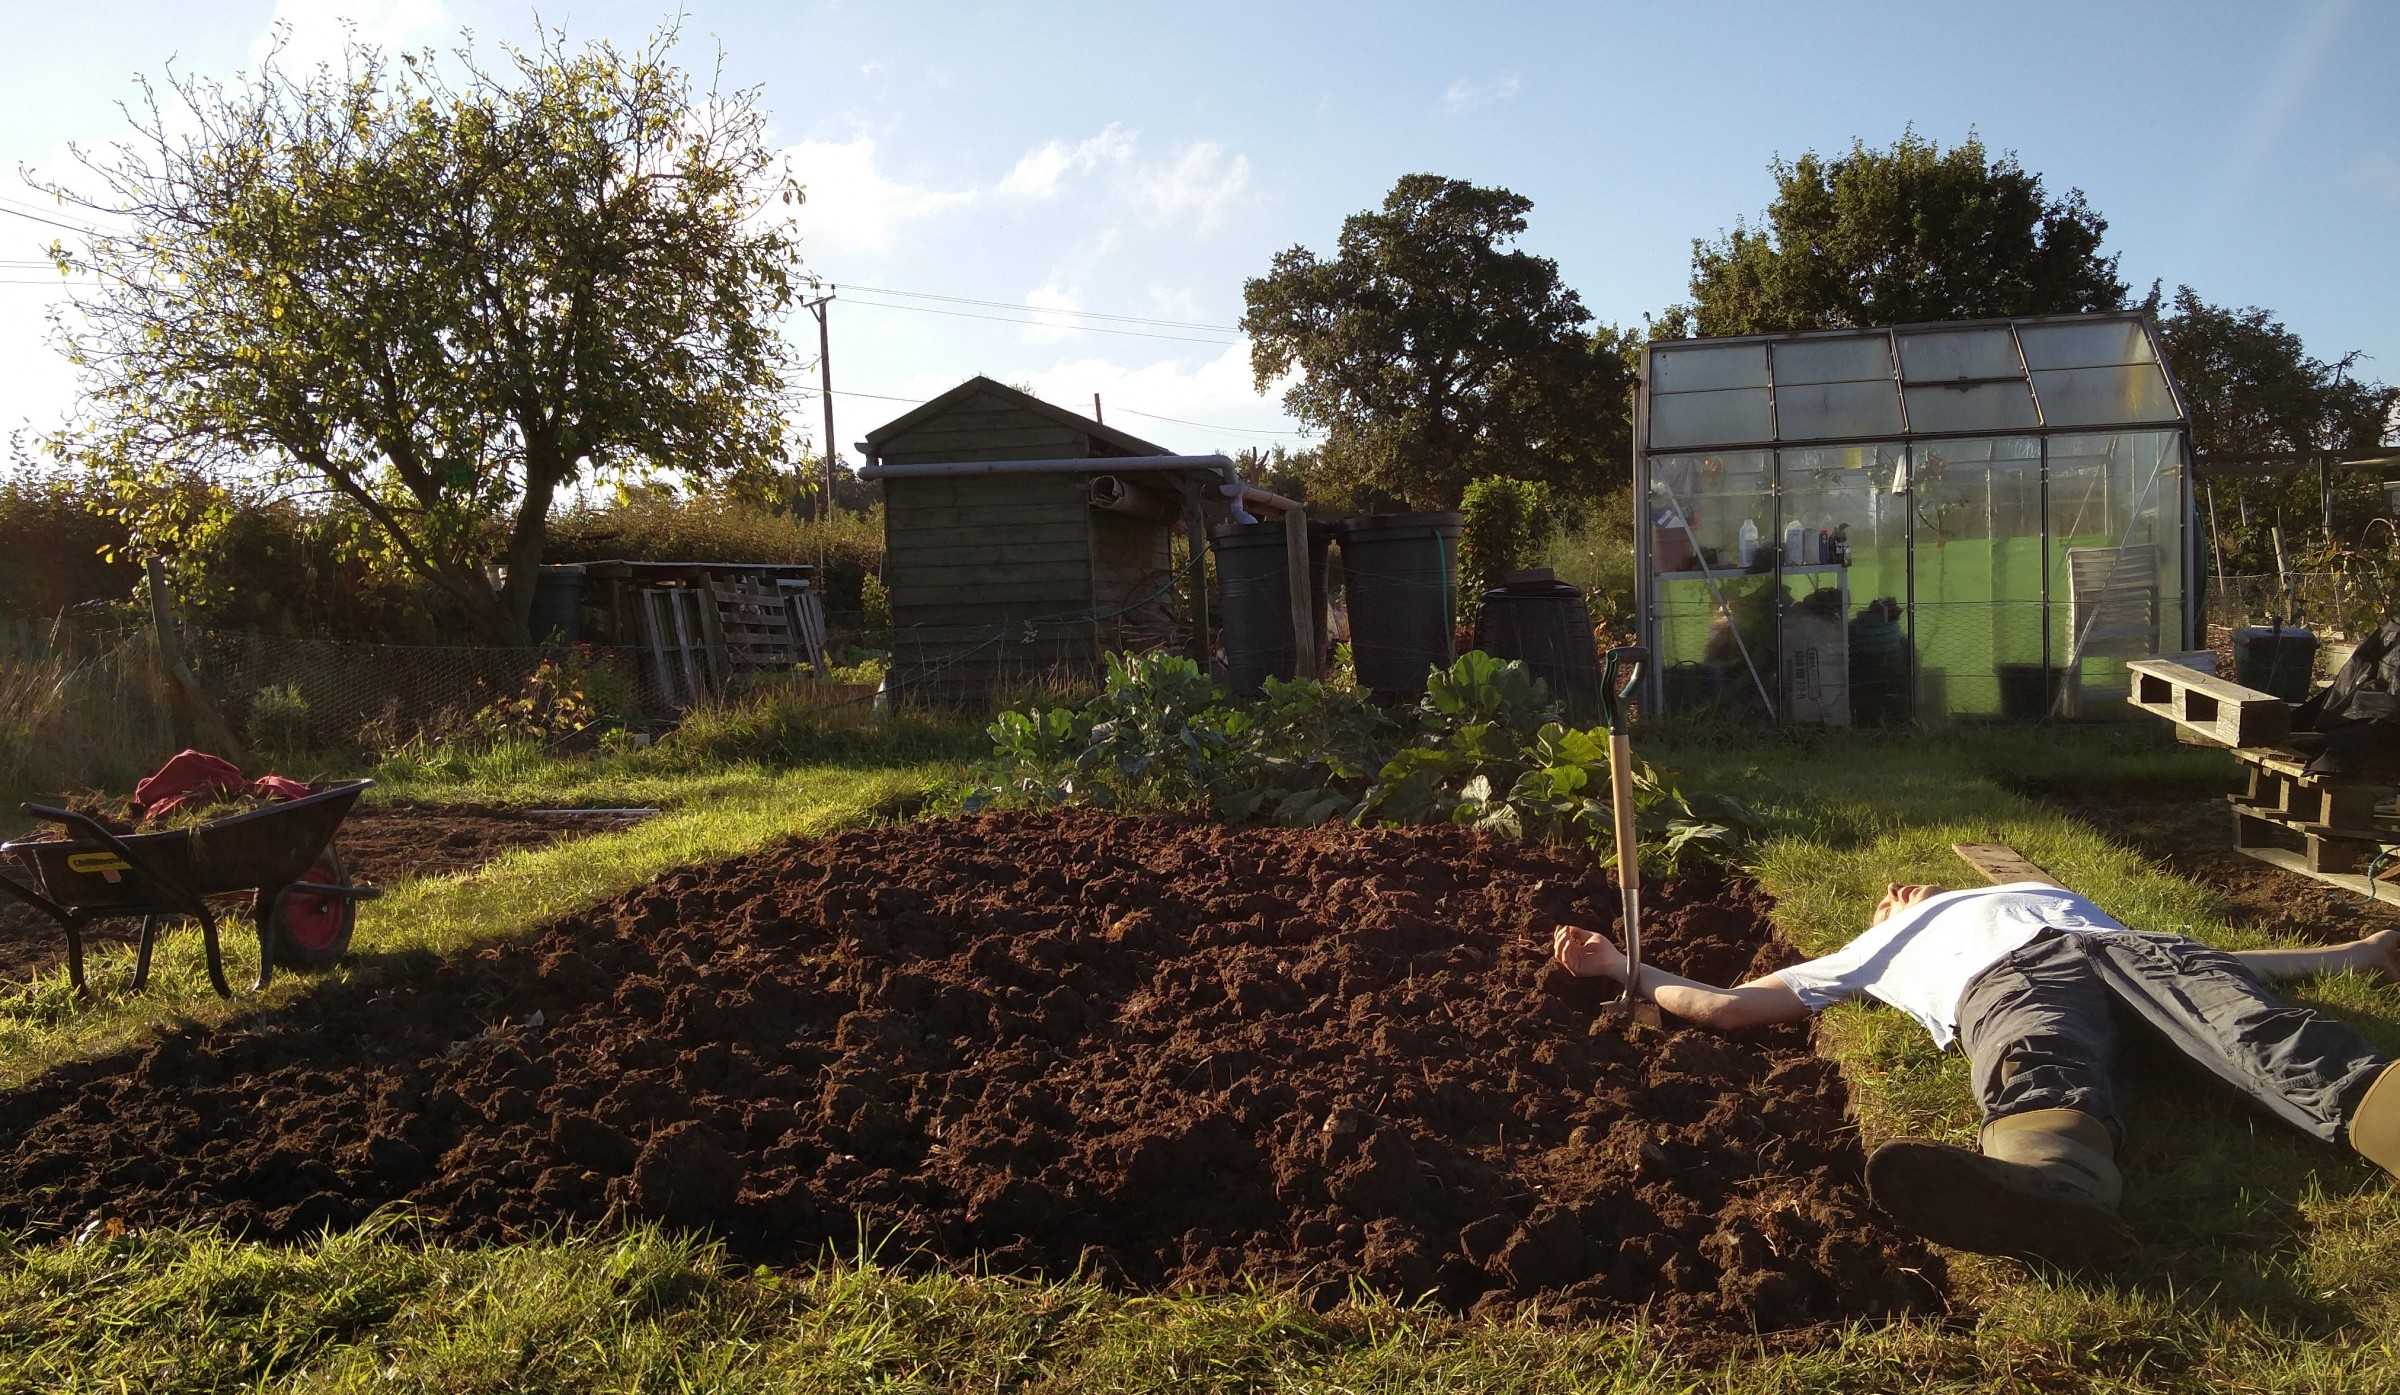
Step 7: Stand back and marvel at your lovely new vegetable bed.
Now you can stand back (or collapse in an exhausted heap) and admire your lovely new vegetable bed. It's a pretty good feeling seeing your hard work in a freshly dug bed. Now you just need to do the other beds. :) Good luck, it'll
Remember: Do a little bit , often. Don't rush it.