How to Build a DIY Cold Frame for Next to Nothing: The Ultimate Gardener’s Hack
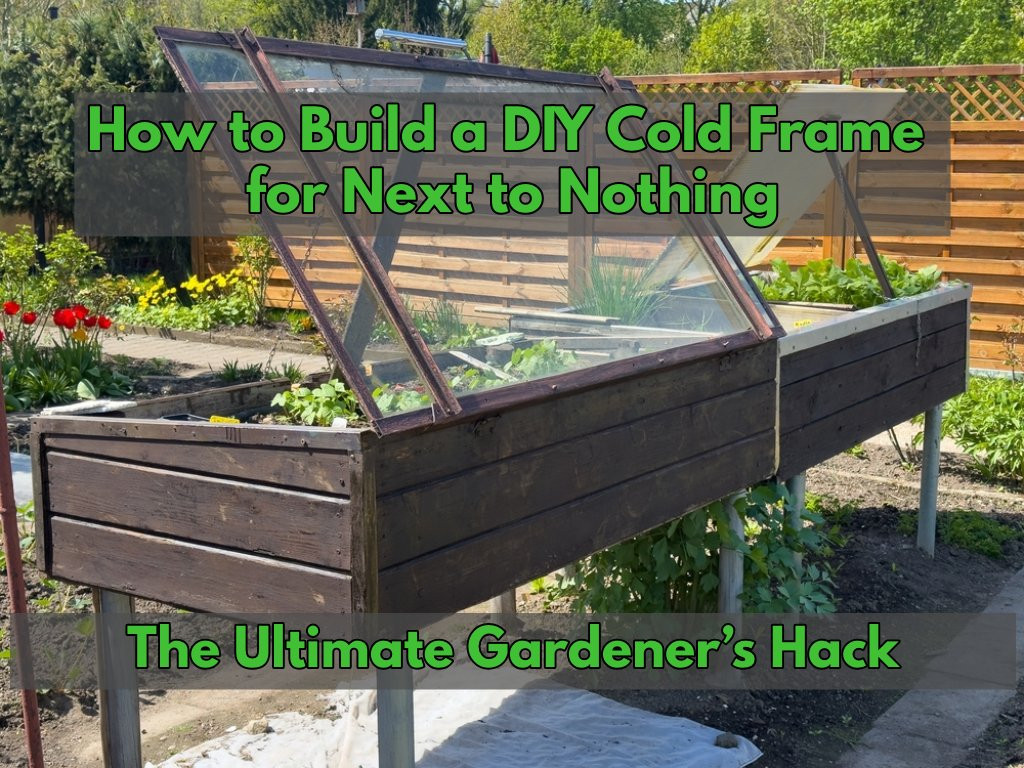
Extending your growing season doesn't require an expensive, heated greenhouse. A cold frame acts as a miniature, unheated greenhouse that insulates your soil, shelters vulnerable plants, and creates a controlled microclimate right on your allotment or garden plot.
In this guide, you will discover how to build your own functional cold frame virtually for free using upcycled household items, how to maximize its seasonal benefits, and how to adapt it into a shaded summer shelter or a heated propagation station.
What is a Cold Frame and Why Do You Need One?
A cold frame is a bottomless box with a transparent glass or plastic lid that rests directly on garden soil or raised beds. By trapping radiant solar heat and shielding plants from drying winds, it bridges the temperature gap between seasons.
Key Benefits for Home Gardeners
- Extending the Growing Season: A cold frame allows you to sow hardy greens like spinach, kale, and winter lettuce weeks earlier in spring and keep harvesting late into autumn and winter.
- Frost and Weather Protection: Delicate seedlings and overwintering plants are shielded from frost, heavy downpours, snow, and severe wind chill.
- Hardening Off Plants: It provides the perfect transitional environment for conditioning indoor-grown seedlings to outdoor conditions before transplanting.
- Protection from Pests: The enclosed structure keeps out birds, rodents, and garden pests during fragile early growth stages.
3 Ideas to Build a DIY Cold Frame for Virtually Nothing
You don't need expensive timber or specialized equipment to build a high-performing cold frame. Most materials can be gathered for free from neighborhood skips, recycling centers, or scrap piles.
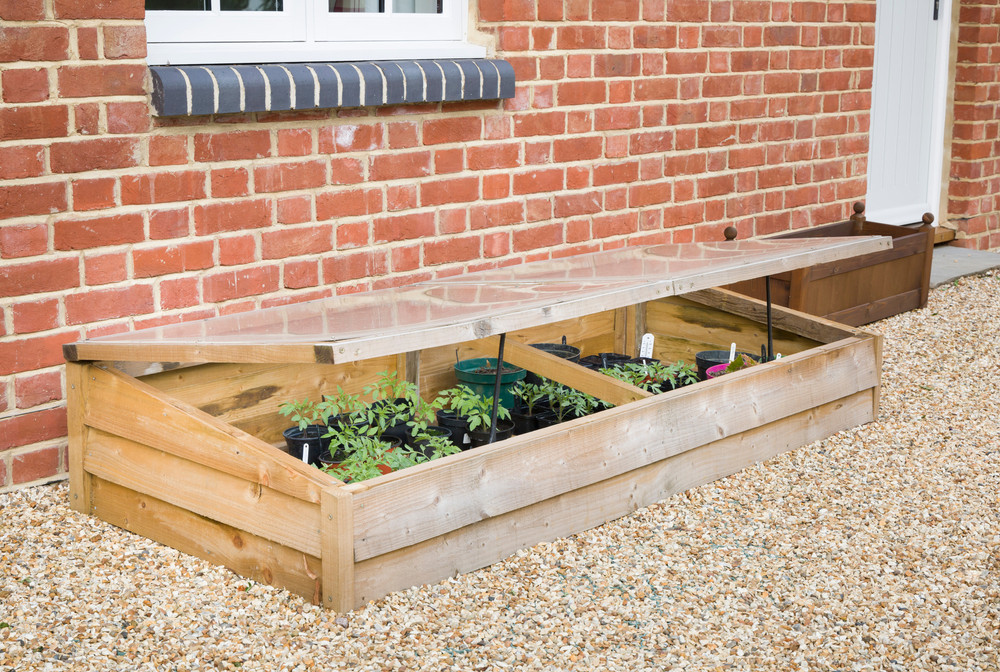
1. The Recycled Window and Scrap Wood Frame
This classic design offers a permanent, highly durable structure for your plot by utilizing discarded window sashes, which are routinely thrown out during home renovation projects.
Materials & Sourcing
- Top Lid: 1 old glass or polycarbonate window sash with its wooden or PVC frame intact. (Source: Check local online community boards, skips, or glass replacement shops).
- Frame Walls: 4 scrap wooden scaffold boards, old floorboards, or reclaimed shipping pallet planks.
- Fixings & Hardware: 2 outdoor butt hinges (or strips of heavy-duty rubber strap), 12–16 long wood screws (70mm+), and wood glue.
- Tools: Hand saw or circular saw, screwdriver/drill, tape measure, and a pencil.
Step-by-Step Construction
- Dimensioning: Measure the exact length and width of your reclaimed window sash. Your wooden box dimensions must match these outer edge measurements.
- Cutting the Angle (Slanted Top): Cut two matching wooden boards to form the front (lower) and back (taller) walls. Cut the two side boards at an angle so the top slopes down from back to front at approximately a 15- to 20-degree incline. This slant ensures maximum sunlight penetration and prevents rainwater or snow from pooling on the glass.
- Assembling the Box: Butt the corner joints together and secure them using wood glue and two to three long screws per corner. For added stability, screw a square 2x2 inch wooden post into each internal corner.
- Attaching the Lid: Lay the window sash flush on top of the angled box. Screw the butt hinges into the back higher wall and the upper frame of the window.
- Weatherproofing (Optional): Coat the exterior timber in a non-toxic, plant-safe wood preservative or linseed oil to prevent rot.
2. The Straw Bale and Shower Door Enclosure
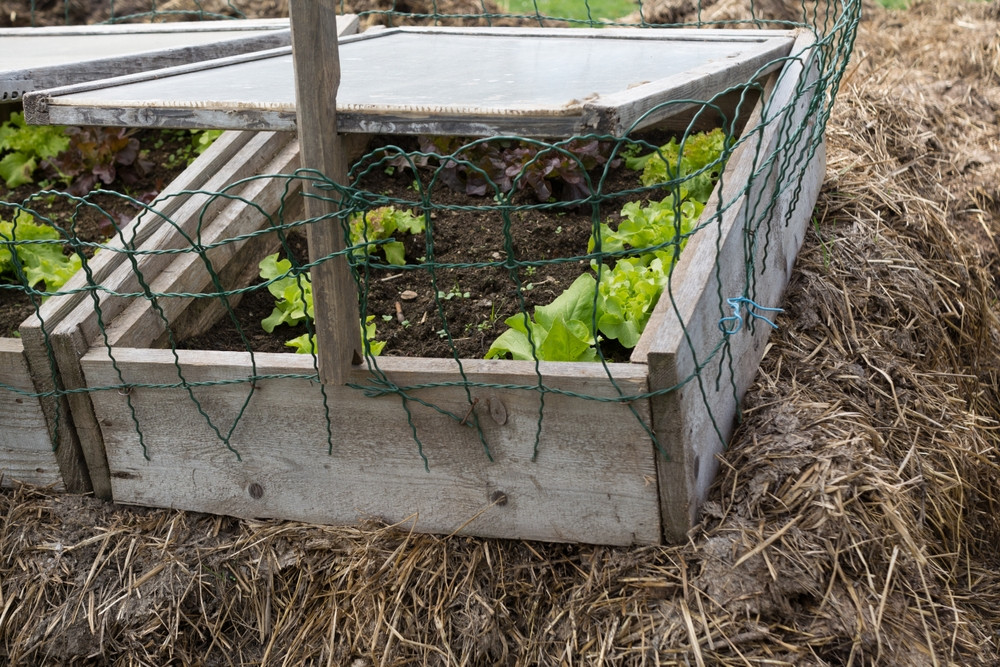
This option requires zero tools or woodworking skills. Straw is an exceptional thermal insulator (trapping air inside its hollow stems), making this the highest-performing option for severe winter frosts.
Materials & Sourcing
- Walls: 4 to 6 agricultural straw bales (avoid hay, as it contains weed seeds). (Source: Local farm shops or equestrian supply stores).
- Top Cover: 1 discarded toughened glass shower door, a clear corrugated acrylic sheet, or a heavy-duty timber frame wrapped in clear 500-gauge polythene.
- Anchors: 2 heavy bricks or stones to weight down the top lid against high winds.
Step-by-Step Construction
- Ground Preparation: Select a level, south-facing patch of soil or an existing raised bed. Clear away any weeds or large debris.
- Building the Enclosure: Lay the straw bales end-to-end directly on the ground to form a tight rectangular perimeter. Ensure the inner cavity matches the size of your transparent lid.
- Creating the Slope: To create a rain runoff angle, place a single layer of loose bricks or a thin timber batten under the back straw bales, or simply pack extra loose straw under the rear edge of the cover.
- Fitting the Cover: Place the glass shower door or framed plastic sheet directly across the top of the straw bales.
- Sealing Drafts: Push extra loose straw into any gaps between the bales and around the bottom edges where the frame meets the soil to stop cold drafts. Weight the top down with bricks.
3. The Reclaimed Brick and Glass Thermal Shelter
Bricks, breeze blocks, and paving slabs possess high thermal mass. They absorb solar energy during sunny winter hours and slowly radiate that heat back into the cold frame air cavity overnight.
Materials & Sourcing
- Walls: 20 to 30 loose house bricks, engineering bricks, or concrete breeze blocks. (Source: Building site scrap piles, garden clearances, or leftover landscaping projects).
- Top Cover: 1 sheet of twin-wall polycarbonate, horticultural glass, or framed perspex.
- Lid Handle/Prop: 1 wooden offcut or block to prop the lid open for ventilation.
Step-by-Step Construction
- Footing: Scrape the soil flat where the brick perimeter will sit. Tamping the earth down firmly prevents the bricks from sinking unevenly over time.
- Dry-Stacking the Walls: Lay the first layer of bricks flat, end-to-end, forming a rectangle. Stagger the joints on the second and third layers (like a conventional brick wall) for structural stability. Do not use mortar—a dry-stacked frame can easily be dismantled, resized, or moved around your allotment as your crop rotations change.
- Graduating the Wall Height: Build the back wall 3 layers high (approx. 22–25 cm) and the front wall 2 layers high (approx. 15 cm). Use half-bricks or angle the side wall bricks to create a smooth diagonal slope.
- Placing the Top Panel: Rest your glass or polycarbonate panel directly over the top of the brickwork.
- Insulating the Core: Line the internal brick walls with cardboard or bubble wrap if severe sub-zero temperatures are expected, giving your seedlings an extra barrier against cold conduction.
Year-Round Cold Frame Tactics: Sun Shade & Heated Propagation
A cold frame isn't just a winter tool—it can be adapted across all four seasons with two clever adjustments:
Summer Protection: Converting to a Seedling Shade Box
Delicate summer seedlings and young greens can easily scorch under intense midsummer sunlight.
- The Technique: Draping a piece of breathable shade cloth, hessian fabric, or thin muslin over the glass lid during summer months converts your cold frame into a shaded nursery. This lowers ambient temperatures, prevents leaf burn, and retains soil moisture during dry spells.
Spring Boost: Converting to a Heated Propagator
When starting heat-loving seeds like tomatoes, peppers, or aubergines in early spring, a basic cold frame may not provide enough bottom heat.
- Option A (Organic Bottom Heat / Hotbed): Dig down 30 cm inside your frame and lay down a 15–20 cm layer of fresh, nitrogen-rich horse manure mixed with straw. Cover it with 10 cm of rich topsoil. As the manure decomposes, it generates natural, steady root heat for weeks.
- Option B (Electric Heat Mat): Place an outdoor-rated electric seed propagation mat across the base of the frame, set your seed trays on top, and plug it into a weatherproof outdoor outlet.
Cold Frame Maintenance Tips
- Ventilation is Essential: On sunny winter or spring days, temperatures inside a sealed cold frame can spike dramatically. Prop the lid open slightly with a block of wood during warm afternoons to prevent fungal diseases and plant scorching.
- Face The Sun: Position the sloping glass lid facing the sun to catch maximum sunlight throughout the day.
- Insulate Extreme Cold Nights: During severe winter freezes, cover the glass top overnight with an old blanket, cardboard, or bubble wrap to trap ambient heat.
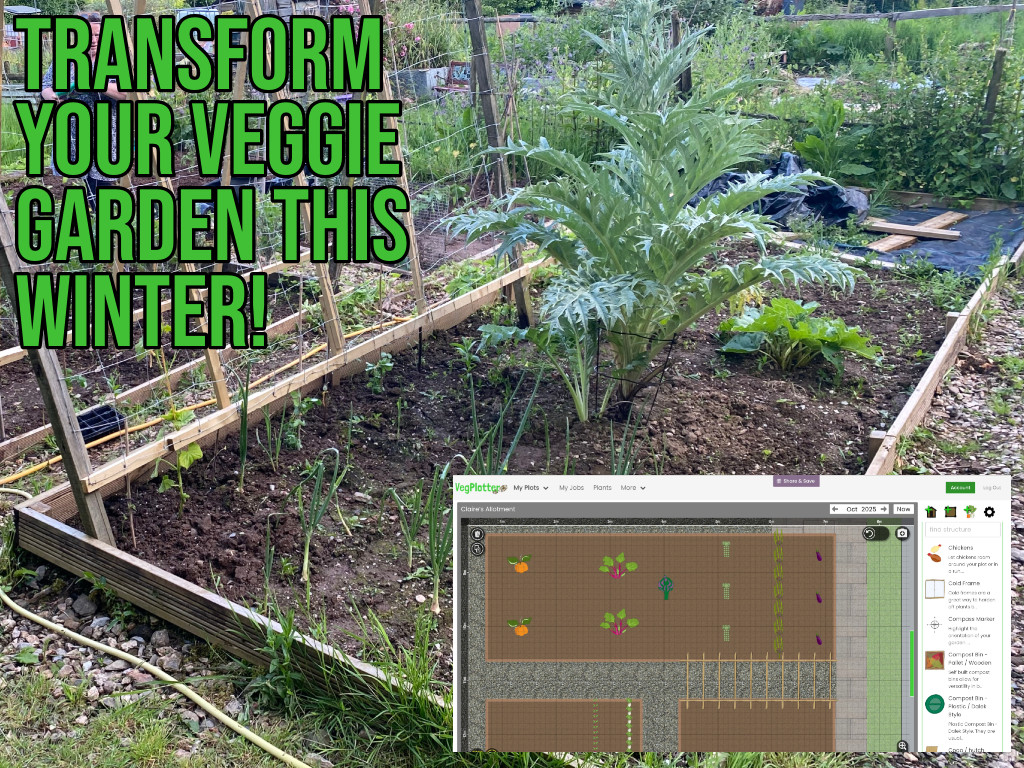
Planning your garden layout for the coming season? Map out your cold frame locations, crop rotations, and bed space effortlessly with the VegPlotter Interactive Garden Planner.