How to Make Organic Liquid Fertilizers: DIY Comfrey, Nettle, & Plant Brews
Gardeners are increasingly turning to natural, sustainable methods to feed their crops. Making a DIY organic liquid fertilizer—often called a "plant brew" or "weed tea"—is an eco-friendly, zero-cost way to boost soil microbiology and deliver immediate nutrients to your vegetable plot.
This guide covers how to make nutrient-rich liquid seaweed, dandelion, horsetail, comfrey, and stinging nettle fertilizers at home.
Why Use Dynamic Accumulators for Garden Brews?
Dynamic accumulators are deeply rooted plants that gather micronutrients and macronutrients from the subsoil, storing them in their leaves. When we ferment these leaves in water, we create a bio-available liquid plant food that roots can absorb instantly.
The Top 5 Organic Materials for DIY Liquid Fertilizer
1. Comfrey Liquid Fertilizer (High Potassium / K)
- Nutrient Profile: Exceptionally high in Potassium (K), moderate Nitrogen (N).
- Best Used For: Flowering and fruiting crops like tomatoes, peppers, aubergines, and squash.
- How it Works: Comfrey acts as a natural tomato feed, encouraging heavy flowering and fruit set.
2. Stinging Nettle Tea (High Nitrogen / N)
- Nutrient Profile: High in Nitrogen (N), Iron, and Magnesium.
- Best Used For: Leafy green vegetables, brassicas (cabbage, kale, broccoli), and young seedlings.
- How it Works: Nitrogen stimulates vegetative growth and chlorophyll production for lush, green leaves.
3. Dandelion Liquid Feed (Micronutrient Booster)
- Nutrient Profile: Rich in Calcium, Iron, Potassium, and Magnesium.
- Best Used For: Root crops and general soil vitality.
- How it Works: Dandelions use a thick taproot to mine minerals that surface-feeding plants cannot reach, making them an excellent all-purpose tonic.
4. Seaweed & Kelp Fertilizer (Trace Minerals & Plant Hormones)
- Nutrient Profile: Contains over 60 trace minerals, plus auxins, cytokinins, and gibberellins (growth hormones).
- Best Used For: Transplant shock recovery, root development, and climate stress resistance (drought/frost).
- How it Works: Seaweed stimulates beneficial soil microbes and strengthens plant immunity. (Note: Always rinse wild-foraged seaweed to remove excess sodium before brewing).
5. Horsetail Ferment (Equisetum arvense - High Silica)
- Nutrient Profile: Exceptionally high in bio-available Silica.
- Best Used For: Antifungal foliar spray (preventing powdery mildew, tomato blight, and rust).
- How it Works: Silica strengthens the cellular walls of your plants, creating a physical barrier against fungal spores and biting insects.
Quick Reference: Nutrient Comparison Table
| Material | Primary Nutrient / Benefit | Best Target Vegetable | Application Frequency |
|---|---|---|---|
| Comfrey | Potassium (K) | Tomatoes, Peppers, Squash | Every 7–14 days during flowering |
| Stinging Nettle | Nitrogen (N) | Spinach, Kale, Lettuce, Cabbage | Every 14 days during early growth |
| Dandelion | Calcium & Iron | Carrots, Beetroot, General Plot | Monthly soil drench |
| Seaweed / Kelp | Trace Minerals / Hormones | New Transplants, All Vegetables | During transplanting or stress |
| Horsetail | Silica (Antifungal) | Cucumbers, Squash, Tomatoes | Weekly foliar spray as prevention |
Step-by-Step Instructions: How to Brew Liquid Plant Food
Follow this anaerobic fermentation method to extract maximum nutrients from your organic materials:
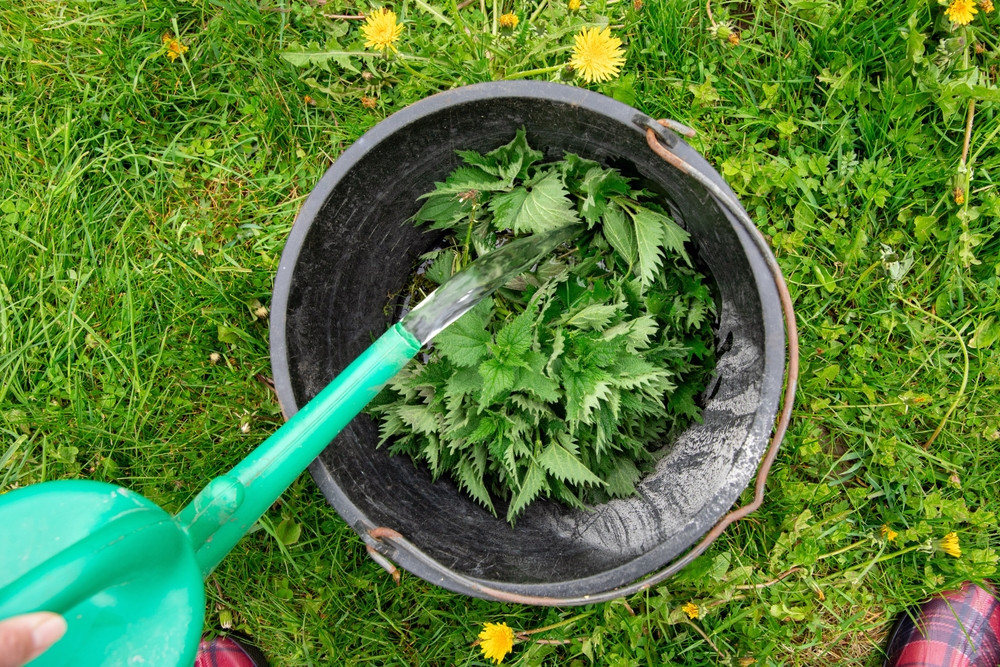
- Harvest and Chop: Collect your plant material (use gloves for nettles!). Roughly chop or bruise the leaves to break the cell walls.
- Pack the Container: Fill a bucket, barrel, or water butt 3/4 full with the chopped plant material. Weight it down with a clean brick or stone.
- Add Water: Fill the container with water until the plants are fully submerged. Rainwater is preferred, as chlorinated tap water can inhibit the beneficial microbial fermentation.
- Cover and Ferment: Cover the container loosely with a lid to keep pests out while allowing fermentation gases to escape. Place the bucket away from your living space, as the mixture will develop a strong, manure-like odour.
- Steep Time: Let the brew sit for 2 to 4 weeks. The water will turn dark and the plant material will decompose into a sludge.
- Strain and Store: Strain the liquid through a mesh sieve or burlap sack. Compost the remaining plant sludge, and store the concentrated liquid in a sealed bottle in a cool, dark place.
Application and Dilution Ratios
Applying concentrated plant brew can burn plant roots. Always dilute your organic fertilizers using these guidelines:
- For Root Drenching: Dilute the concentrate with water at a 1:10 ratio (one part fertilizer to ten parts water). The liquid should resemble the colour of weak tea or light beer. Pour directly at the base of the plant.
- For Foliar Feeding: Dilute to a 1:20 ratio (a very pale straw colour). Strain thoroughly to avoid clogging your sprayer. Spray directly onto leaf surfaces early in the morning so the plant can absorb nutrients via its stomata before the sun gets too hot.