The Ultimate Guide to Straw Bale Gardening in 2026

Are you tired of battling rocky soil, constant weeds, or the back-breaking labor of traditional tilling? Whether you have a sprawling backyard or just a concrete driveway, straw bale gardening is the "secret weapon" for high-yield, low-maintenance harvesting.
This method turns a simple bale of straw into a self-composting, nutrient-rich raised bed. In this guide, we’ll dive into the pros and cons, the essential "conditioning" process, and how to combine this method with traditional raised beds for the ultimate setup.
Why Choose Straw Bale Gardening? (The Pros & Cons)
The Positives
- No Weeding or Tilling: Since you aren't planting in the ground, you bypass soil-borne weeds.
- Accessible Gardening: Bales sit at roughly knee-height, reducing back strain.
- Garden Anywhere: Set up on concrete, gravel, or poor-quality soil.
- Extended Season: As the straw decomposes, it generates internal heat, protecting roots from early-season chills.
The Negatives
- Heavy Watering: Straw is a giant sponge and can dry out faster than ground soil in peak summer.
- One-Season Lifespan: Bales typically last one growing season before collapsing into compost.
- The "Leaking" Factor: Bales can leak dark "compost tea," which may stain high-end wooden decks.
Level Up: Putting Straw Bales in a Raised Bed
Many gardeners are now opting for the "RS Combo" (Raised-Straw Combo). By placing your bales inside a wooden or metal frame, you get the best of both worlds.
Why Put Bales in a Frame?
- Aesthetics: It hides the "shaggy" look of decomposing straw, keeping your garden looking tidy.
- Structural Support: The frame provides a sturdy anchor for trellises and prevents the bales from sagging as they break down.
- Pest Barrier: You can line the bottom of a raised bed with hardware cloth (metal mesh) to stop gophers or moles from tunneling into your plants.
- Soil Building: At the end of the year, don't move the straw! Just let it finish decomposing inside the bed. By next spring, you’ll have a head start on a deep, organic soil base.
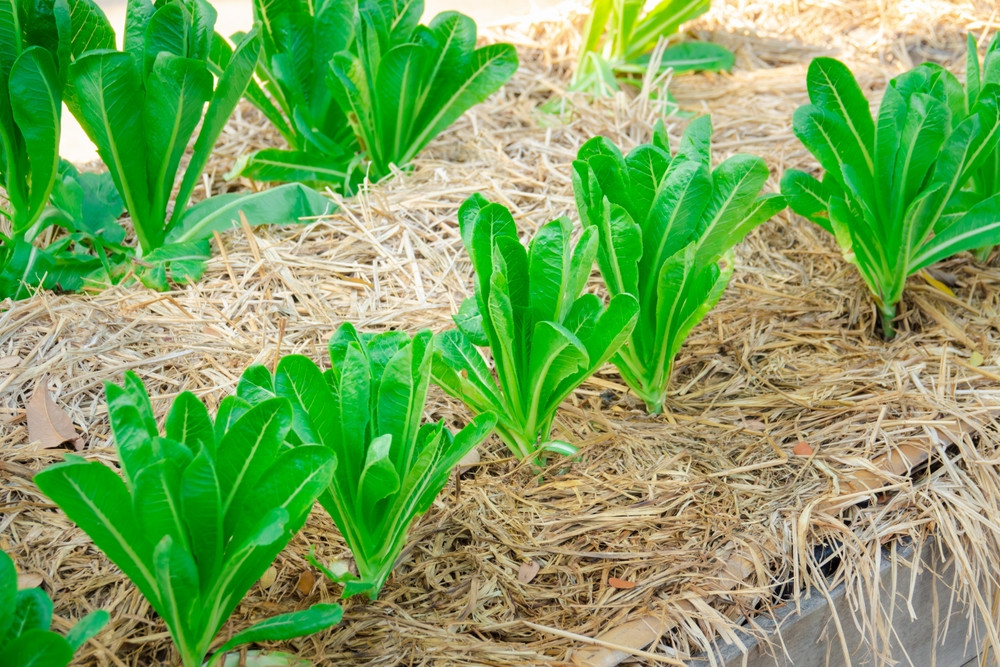
A row of green lettuce plants in a straw garden bed
How to Condition Your Bales: The 10-Day Schedule
You cannot plant in a fresh bale immediately. You must "condition" it to start the internal composting process. Use a high-nitrogen fertilizer (like blood meal) and follow this timeline:
| Day | Task |
|---|---|
| Day 1–3 | Soak the bales. Water until it runs out the bottom. |
| Day 4–6 | Add Nitrogen. Sprinkle 1/2 cup of nitrogen-rich fertilizer per bale; water in. |
| Day 7–9 | Reduce Nitrogen. Use 1/4 cup of fertilizer per bale; keep damp. |
| Day 10 | Balanced Feed. Add 1 cup of balanced fertilizer (10-10-10 NPK) and soak. |
Pro Tip: Use a compost thermometer. When the internal temp drops to roughly 25°C to 30°C, it’s safe to plant.
Best Plants and Layout Tips
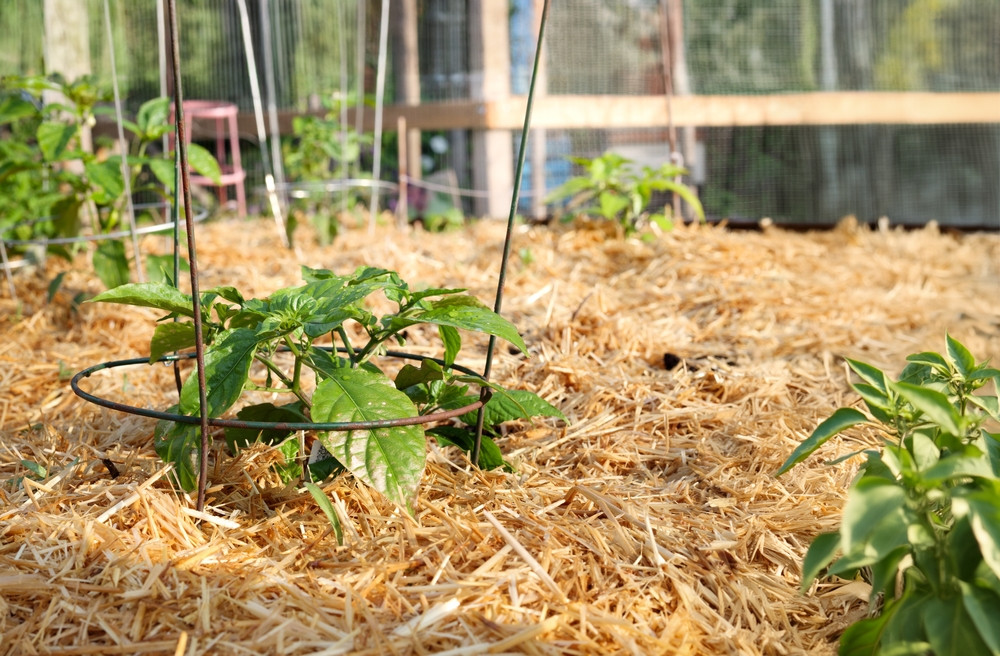
Young hot chilli pepper plant with metal cage for support in raised garden bed
What to Plant
- Tomatoes & Peppers: These thrive on the consistent bottom heat of the bale.
- Cucumbers & Zucchini: Let them trail down the sides of your raised bed to save space.
- Strawberries: Elevation keeps the fruit off the damp ground, preventing rot.
- Avoid Corn: It grows too tall and top-heavy, which can cause the bale to tip or split.
The "Cut Side Up" Rule
Always place your bales with the cut side (the ends of the straw stalks) facing up. This allows water and fertilizer to travel down into the bale like a series of tiny pipes. Ensure the twine strings run around the sides of the bale, not across the top, so they continue to hold the bale together as it shrinks.
Straw bale gardening—especially when contained in a beautiful raised bed—is a productive, experimental way to grow food without the "grunt work" of traditional farming.