Starting Seeds Indoors: The Ultimate Guide

For many of us, the garden isn't just a chore—it’s our sanctuary. While buying "ready-to-go" plants from a garden centre is an easy shortcut, there is a special kind of magic in watching a tiny, dry seed transform into a heavy vine of tomatoes or a sea of vibrant flowers.
Starting your seeds indoors is the best way to get a "jump start" on spring. It allows you to grow rare varieties you’ll never find at the store and ensures your plants are strong enough to handle the elements the moment the weather warms up.
Why Grow Your Own Seedlings?
The Benefits
- Incredible Variety: You aren't limited to "Red Tomato." You can grow "Black Krim," "Pineapple Pig," or "Cherokee Purple."
- Save Money: A single packet of seeds (usually around £3/$4) can provide enough plants to fill your entire backyard.
- Healthier Starts: You know exactly what went into your soil. No hidden pesticides or nursery-bred pests.
- The "Green Thumb" Satisfaction: There is a genuine sense of pride in seeing a dinner table full of food that started on your kitchen windowsill.
The Pitfalls
- The "Leggy" Look: If your seedlings look like long, skinny noodles, they aren't getting enough light. They are stretching to find the sun, which makes them weak.
- Damping Off: This is a gardener’s heartbreak. It’s a fungus that attacks the stem at the soil line, causing the seedling to tip over and die overnight. It usually happens from overwatering.
- Starting Too Early: It’s tempting to plant everything in January, but if your plants get too big before the weather is warm, they become "root-bound" and stressed in their small pots.
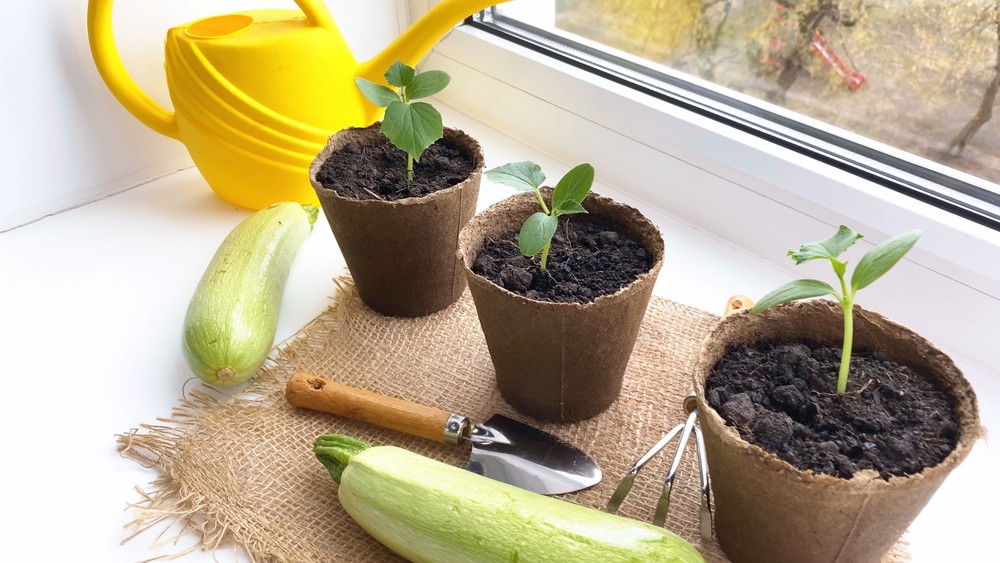
Courgette / Zucchini seedlings thriving on the window sill
10 Seeds to Start Indoors: The Gardener's Timeline
To use this guide, find your local Last Frost Date from Frostdates.com (the date in spring when the risk of freezing weather has passed). Then, just count backward using the weeks below! Or create your garden with VegPlotter.
| Seed Variety | Weeks Before Last Frost | Top Tip for Success |
|---|---|---|
| 1. Tomatoes | 6–8 Weeks | Bury the Stems: When you move them to bigger pots, bury them up to the first leaves. They will grow extra roots all along the stem! |
| 2. Peppers | 8–10 Weeks | Keep them Cozy: Peppers love warmth. Put your seed tray on top of a fridge or a warm shelf to help them sprout faster. |
| 3. Eggplant | 8–10 Weeks | Don't Touch the Roots: These are "divas." Use biodegradable pots so you don't have to pull them out of the plastic when planting. |
| 4. Kale | 4–6 Weeks | Light is Life: Kale gets "leggy" very quickly. Make sure it’s in your brightest window or directly under a light. |
| 5. Zinnias | 4 Weeks | Be Patient: These grow like weeds. If you start them too early, they’ll be flowering in your kitchen before spring arrives! |
| 6. Basil | 6 Weeks | Give them a Haircut: Once they have a few sets of leaves, pinch off the top. It feels mean, but it makes the plant grow bushy and full. |
| 7. Cauliflower | 4–6 Weeks | Never Let them Dry Out: If cauliflower gets too thirsty as a baby, it may never grow a big "head" later on. |
| 8. Brussels Sprouts | 6–8 Weeks | Start Early: These take a long time to mature. Getting them started indoors gives them the "running start" they need. |
| 9. Marigolds | 6–8 Weeks | The Garden Bodyguards: Marigolds help keep pests away. Start plenty of them to tuck into every corner of your garden. |
| 10. Celery | 10–12 Weeks | Don't Bury the Seed: These tiny seeds need light to wake up. Just press them onto the top of the dirt and don't cover them. |
Celery seedlings hardening off on the balcony
Easy Tricks for Successful seedlings
1. Don't Just Use "Dirt"
Standard garden soil is too heavy and "dirty" for babies. Use a Seed Starting Mix. It’s fluffy, light, and sterile, which helps those tiny roots breathe and prevents disease.
2. The "Tickle" Test
In nature, wind makes plants strong. Indoors, they have it too easy! Gently run your hand over the tops of your seedlings once a day or put a small fan nearby. This "tickling" tricks the plant into growing a thicker, sturdier stem.
3. Use "Bottom Watering"
Instead of pouring water on top of the delicate leaves, sit your tray in a sink or pan with an inch of water. Let the soil "wick" the moisture up from the bottom. This keeps the stems dry and prevents the "Damping Off" fungus.
4. The "Harden Off" Week
You can’t go from a warm house to a windy garden in one day. For about a week, take your plants outside for an hour, then two, then four. This slowly gets them used to the "real world" so they don't go into shock.
Starting seeds indoors is a wonderful hobby that connects you to the rhythm of the seasons. It’s okay if a few seeds don't make it—gardening is all about learning as you go. Grab some trays, find a sunny spot, and get growing!